
4 Steps to Better Lettering: Thumbnails
In the first step of my 4 Steps to Better Lettering series, I explained how to establish hierarchy in your designs to create beautiful and visually interesting compositions.
In this next step, I’m going to explain how to quickly ideate on several layouts in order to get the best composition you can.
Step 2: Thumbnails
What are they?
Thumbnails are small sketches of layouts of your lettering composition or design. Think of these as first drafts of your final artwork. You want to use these thumbnails to explore as many concepts as possible.
Identify the design requirements
For this project, I was creating a vertical greeting card design (5” x 7”) for my Holiday Lettering Workshop attendees. Therefore, I created a proportional tall rectangle in which to draw my thumbnail sketches. If you’re working digitally, you can draw one rectangle and duplicate it several times on the canvas to save some time.
Sketch out as many concepts as you can
Don’t worry about making these sketches pretty or perfect; just focus on getting all your ideas onto paper. The refinement stage will come later on. Once you’ve exhausted all your ideas, narrow it down to a one or two options with which to move forward for the next sketch phase.
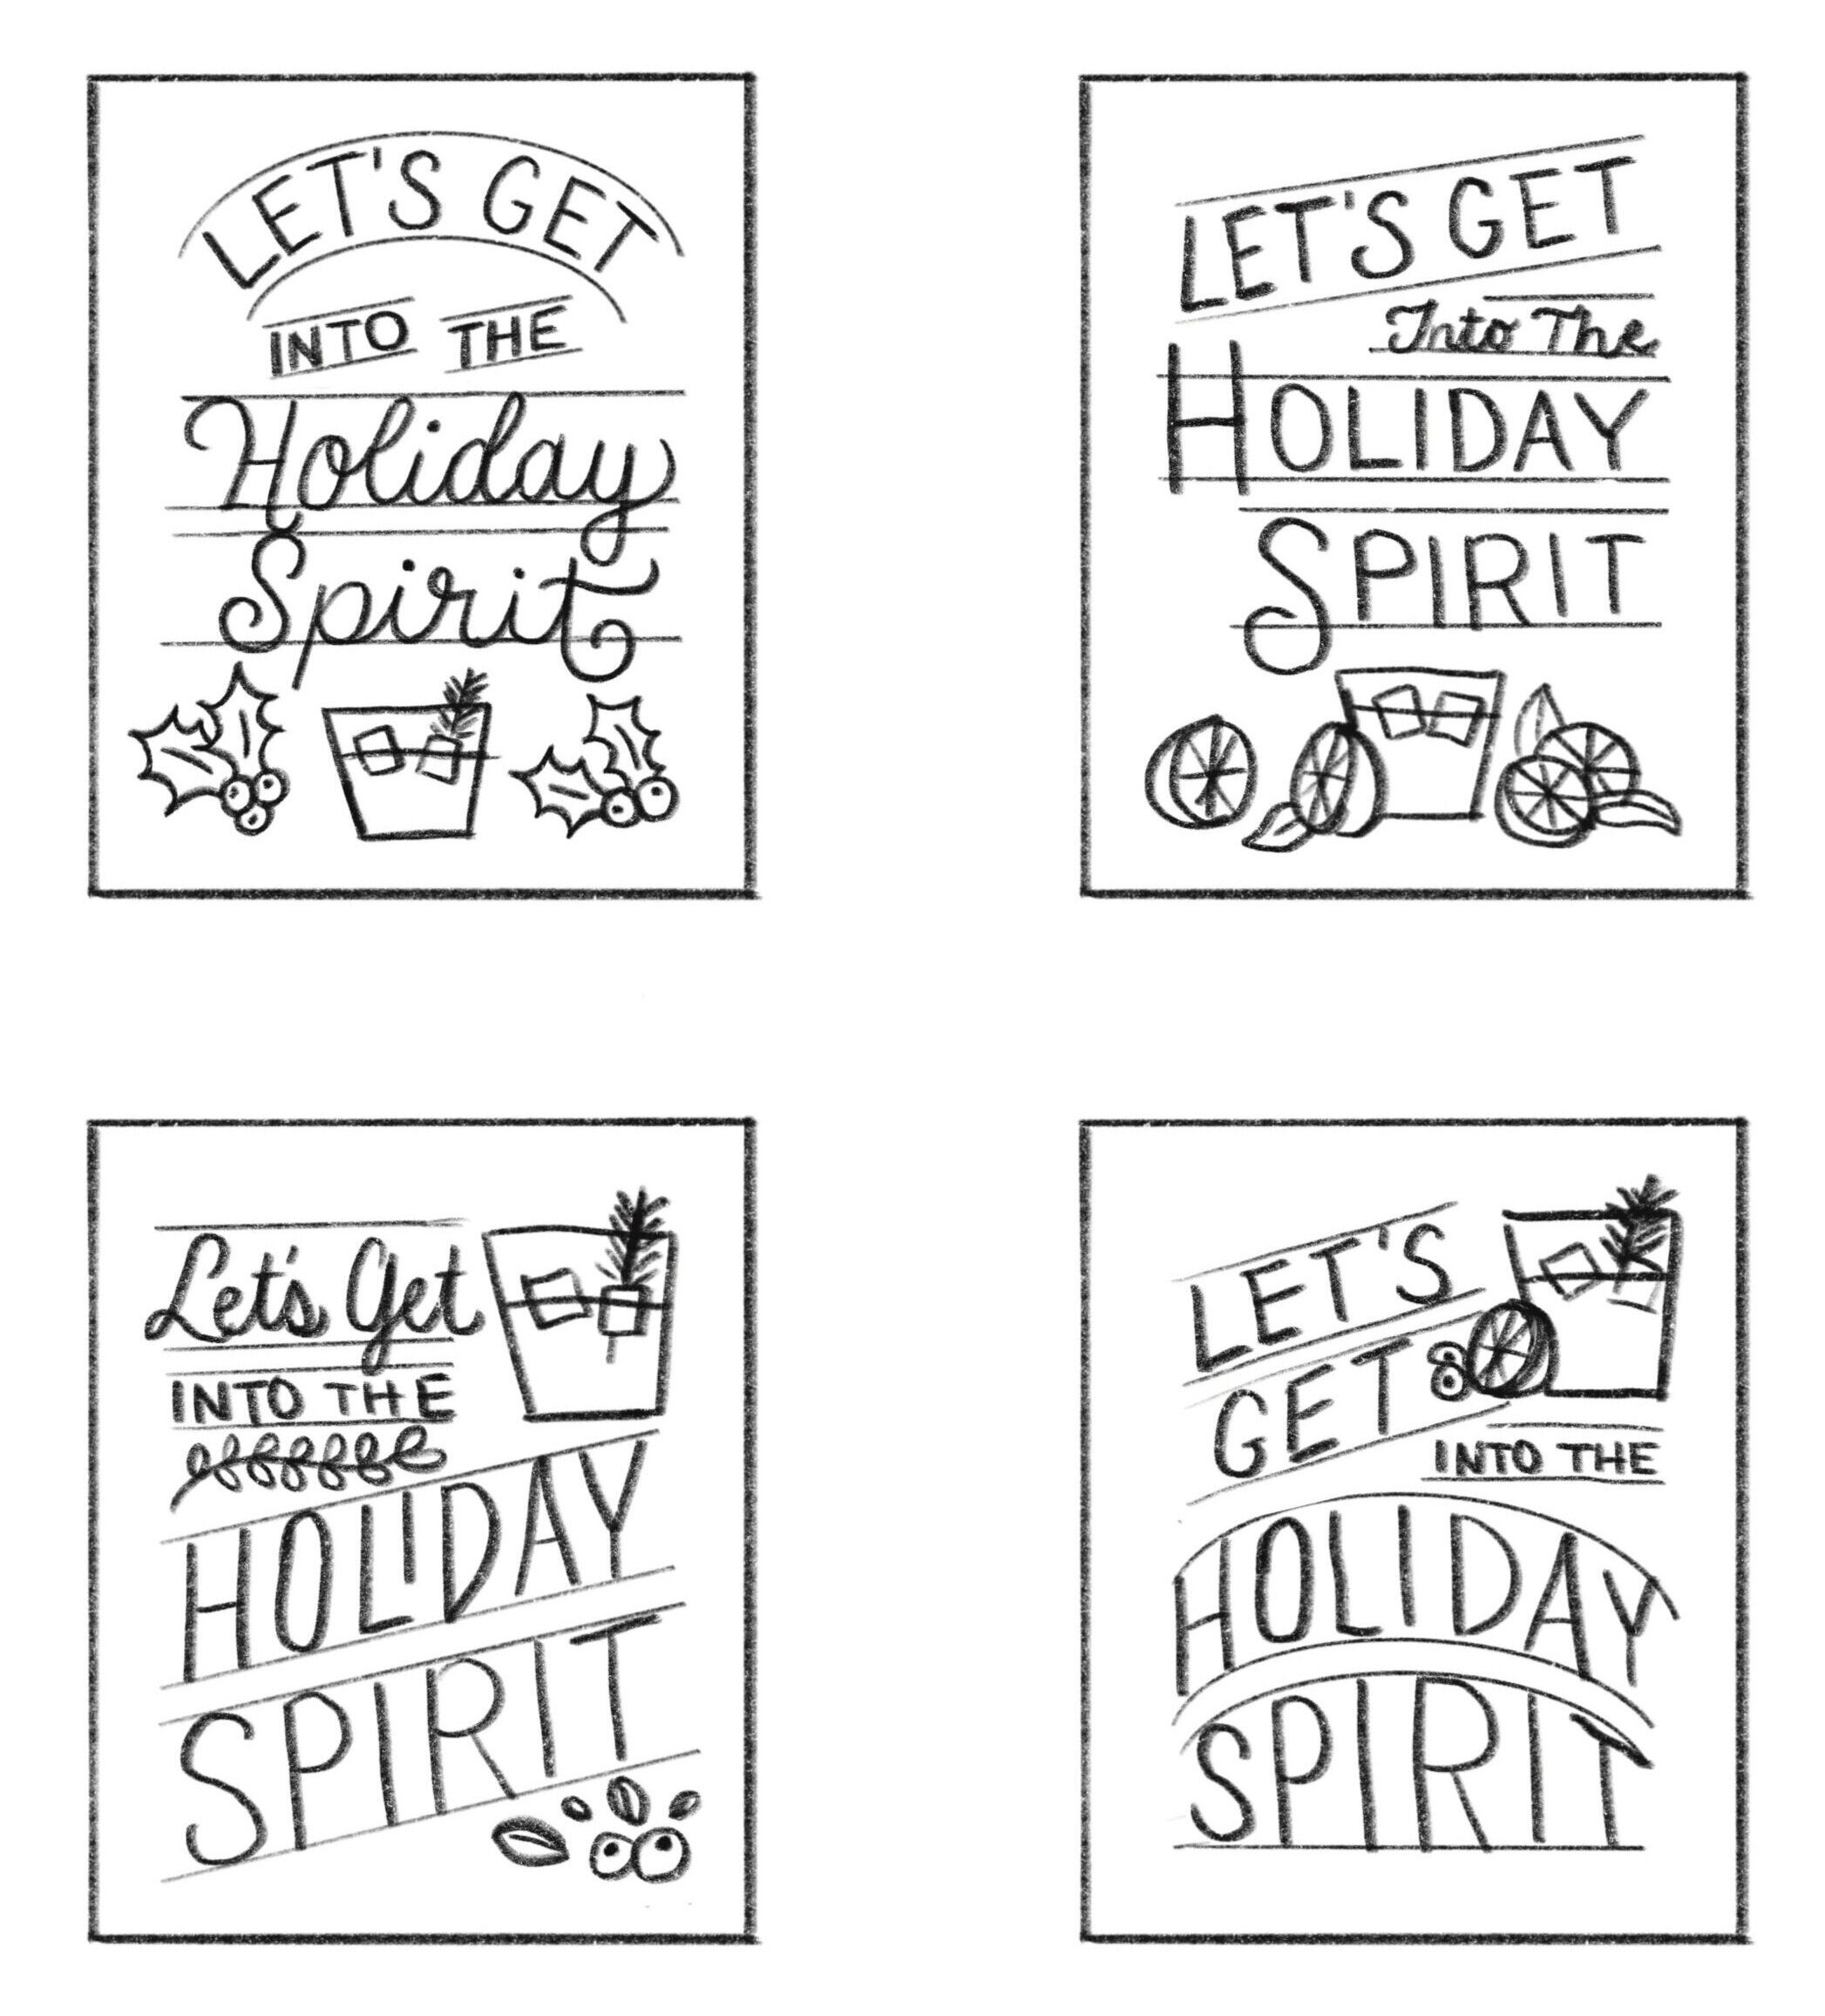
Thumbnail sketches for my holiday greeting card design.
Stay tuned for the next part of the series where I explain how we take this tiny sketch and start turning into the final composition.